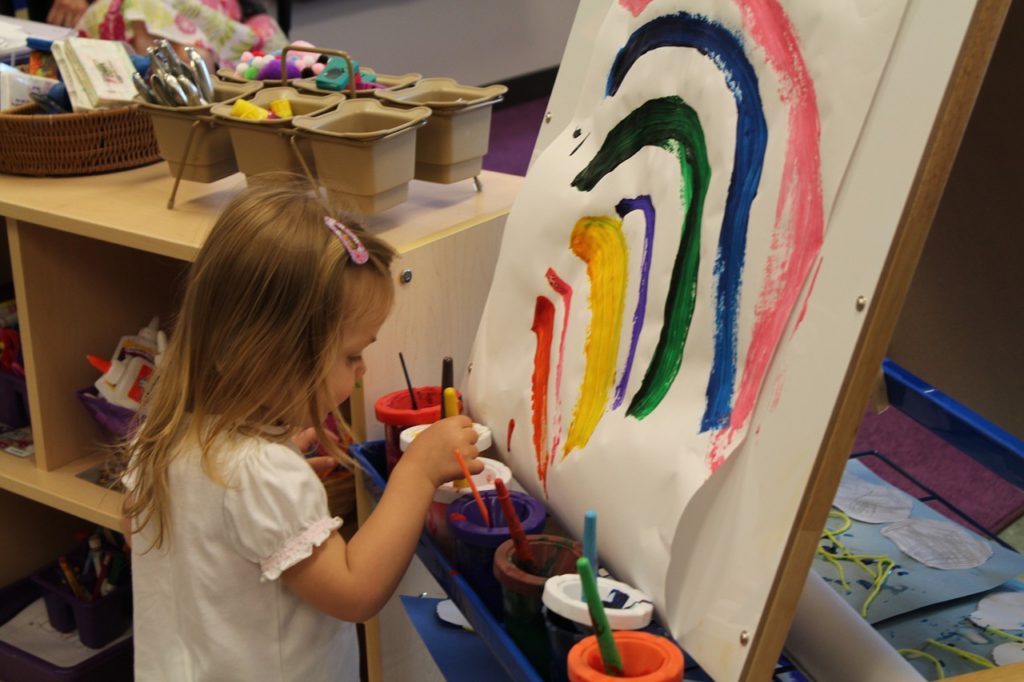
Finding creative letter crafts for preschool kids can be challenging. I’m telling you, if I have to look at one more boring letter coloring page I might just throw up. So, that’s why I decided to put together this post. I wanted to give you all kinds of new and creative letter crafts for every letter of the alphabet!
Keeping The Fun In Your Letter Crafts
Before we get started though I have a little of explaining to do. Most of these crafts won’t have step-by-step instructions for how to make a perfect result. In fact, most of the supplies listed are optional and replaceable. That’s because You Can Teach is really about giving you and your kids a jump off point, and leaving you room to be creative!
I can’t tell you how many times I’ve tried to sit down with my daughter to make a craft, only to end up focusing WAY too much on getting everything fully colored in and glued straight. And all the while my daughter was whining at me because the activity stopped being fun ages ago. Being crafty isn’t about getting a flawless result, ESPECIALLY when it comes to preschool. Who cares if something is too lopsided, too wrinkled, or too blue? What matters is that you allow your kid to express themselves in whatever way they want to, and keep them having fun.
A Whole Alphabet Of Letter Crafts
So, without further ado, let’s get crafting! Here are 26 letter crafts, one for each letter of the alphabet. Here at You Can Teach we recommend dedicating each week to one single letter, but if you want to do one letter craft per day for a month, who’s going to stop you? Go ahead!
The Letter A: Bow and Arrow
Supplies:
- Sticks or straws
- String or rubber bands
- Tape
- Paper, ribbons, anything for decoration
One great thing about this letter craft is that if you don’t have any straws or sticks at home to use for this activity, guess what? There are plenty outside! Take a scavenger hunt around the neighborhood looking for sticks (curved ones for the bow, straight for the arrows). While you’re out there, you could also collect leaves, flowers, and feathers for decoration, or anything else you find that you think could add to the fun! Then come home and tie and tape the string or rubber band to your bows. If you want you could use triangle papers to add a pointy bit to your arrows, or just leave them as they are. Have a contest to see who can shoot the farthest arrow or hit a target!
The Letter B: Marching Band Instruments
Supplies:
- Paper plates
- Dry beans or rice
- Tape
- Jar or Tupperware
- Pots and pans
- Wooden spoons
- Toilet paper and paper towel rolls
- Colored paper, string, stickers, anything to decorate
The great thing about a preschool marching band is that almost anything can be an instrument! Stick two paper plates together with tape and fill them with dry beans or rice for a sort of tambourine, or just throw them in a jar or Tupperware for maracas. Pots and pans with wooden spoons make for some great drums. Decorate some toilet paper or paper towel rolls for trumpets and flutes. Pro tip: play in time to some real band music to make the noise just a little more tolerable. Let the parade begin!
The Letter C: Crayon Scratch Pictures
Supplies:
- Paper
- Crayons (black, and any other colors)
- Paper clips (or a pen lid, fork, anything to scratch off the crayon)
This activity is great for preschoolers because all you have to do is scribble! Color all over your paper with lots of colors. Then color over everything with a thick layer of black crayon. Use the paper clip (or other scratcher of choice) to scratch off the black crayon and reveal the colors underneath. You can scratch off any shapes you like, or, what the heck, scratch off some more scribbles! It all looks impressive in the end.

The Letter D: A Desert Collage
Supplies:
- Old magazines or newspapers
- Scissors
- Paper
- Glue
Before you begin, take a moment to talk about the desert. What does it look like? What’s the weather like? Then go through your magazines and look for objects that might be found in a desert and put together a collage. What things wouldn’t be found in a desert, or what would be nice to have in the desert? (It can be really silly thinking of what things wouldn’t belong in the desert and why!)
The Letter E: Emotion Faces
Supplies:
- Popsicle sticks (or pencils)
- Paper
- Crayons
- Tape
Talk about all different kinds of emotions, and practice making those faces together. Then try drawing the faces on circles of paper, and tape them to popsicle sticks. Now, grab a story to read together. As you read through it, hold up the emotion card that shows the feelings of the characters in the story. Horton Hatches the Egg, Go Dog, Go!, and Giraffes Can’t Dance are great books with lots of different emotions to have fun with.
The Letter F: Paper Jumping Frogs
Supplies:
- Paper (Use green paper, color it green, or any other color you like. You could even google different breeds of frogs and try coloring each paper differently)
Follow this youtube video to learn how to make paper frogs that actually jump!
Paper jumping frogs are one of the more fiddly letter crafts, so if your kids don’t have the patience for it you can save it for when they’re older. Or, try folding them yourself while your kids draw or color their own frogs to glue on popsicle sticks. Then have a whole “F is for Frog” day! DO jumping contests, frog races, use the frogs to sing “5 Little Speckled Frogs”, play leapfrog and read Frog and Toad books.
The Letter G: Graham Cracker Gingerbread Houses
Supplies:
- Graham crackers
- Frosting or peanut butter
- Candies for decoration
When it comes to letter crafts, you can’t beat the edible ones! These graham cracker “gingerbread” houses are pretty straight forward, and there’s endless room for creativity. Have at it. And the best part is you can always eat your mistakes!
The Letter H: Hawaiian Leis
Supplies:
- Colored paper
- String
- Hole punch (or scissors)
- Beads or straws
Cut flower shapes out of the paper and punch a hole in the middle of each one. Slip the flowers onto your string in any order you like. If you want a bit of space in between the flowers you could string straws (cut into smaller pieces), beads, or even cheerios or fruit loops in between for extra tasty leis. Don’t forget to practice your hula dancing!
I Letter Crafts: ID Cards
Supplies:
- Paper
- Crayons
Make your own ID cards! Color a picture of yourself, write your age, eye color, birthday, and anything else you want on the card (favorite color, food, movie, etc). Or, for kids who can’t write yet, draw pictures of things that describe you. You could even fold up a paper wallet to keep your ID card and some paper money inside!
The Letter J: Paper Plate Jellyfish
Supplies:
- Crayons
- Paper plate
- Streamers
- Glue
- Scissors
Cut your paper plate in half and tape streamers (or colored paper cut into squiggles) to the straight end. Draw on a face, color it any way you like, and your jelly fishes are ready for the ocean!

The Letter K: Newspaper Kites
Supplies:
- String
- Tape
- Newspaper
- Straws, popsicle sticks, or chopsticks
Tape your sticks together into an X shape, with your kite string tied around the middle. Next, tape the whole thing to your newspaper, and decorate a stringed tail if you like. Finally, let her fly! Talk about how kites work and what keeps them in the air. Then experiment with different shapes and types of kites.
The Letter L: Cotton Ball Lambs
Supplies:
- Toilet paper rolls
- Cotton Balls
- White Paper
- Popsicle sticks
- Glue
Here’s a little twist on the old cotton ball lamb classic. Stick a lamb face on the front of a toilet paper roll with tape or glue, and four popsicle stick legs to the sides. Then glue cotton balls all over for the wool, and you’ve got yourself a little lamb, Mary!
M Letter Crafts: Endless Macaroni
Supplies:
- Dry macaroni noodles
- String or
- Paper and glue
Slip the noodles onto a string to make necklaces and bracelets. If you want to get really crafty you could paint them for a little extra pizazz. Or, glue them to paper to make beautiful masterpieces!
The Letter N: Napkin Folding
Supplies:
- Cloth or paper napkins (paper towels or washcloths work in a pinch)
Try several different ways to fold a napkin for dinner. Set up a pretend meal (with plenty of forks, and candle lighting if you’re feeling especially adventurous) and practice using the napkins correctly.
You can watch this video for some simple and creative napkin folding ideas. Or, if your kids don’t quite have the patience for this type of thing you can always go with the simple squares, triangles, and rectangles, rolled around the silverware, or make up your own ways to fold the napkins!

The Letter O: Origami
Supplies:
- Paper
- Crayons
I know, origami sounds super advanced, but there are lots of simple folds that even your preschoolers could do! I remember folding this origami dog a million times when I was little, and even used it to impress my friends. Try it for yourself!
The Letter P: Potato Stamps
Supplies:
- Potato
- Paint
- Paper
Start by cutting a potato in half (long or short ways) then carve a shape into each half with a knife. Next, dip the shape in paint and then press it into the paper to make a picture!
The Letter Q: Feather Quills
Supplies:
- Feathers
- Paint (optional)
- Pens
Make a feather quill by cutting diagonally across the bottom end of a feather, then dipping it into paint to write. Or, if you want to avoid any type of mess, just tape your feathers onto the back of a pen, pencil, or even a crayon for some simple (but still just as fun!) quills.
R Letter Crafts: Rainbows
Supplies:
- Yarn, material scraps, colored paper, markers, macaroni, paint, basically anything you have in lots of colors
- Glue and tape
Make rainbows out of several different materials (you could even mix and match!) and glue or tape them onto a paper. Or, if you don’t want to get sticky with the glue you could just walk around your house and gather all types of objects of each of the different rainbow colors (clothes, dishes, toys, towels). Next, clear a place on the floor and place them all together into the shape of a giant rainbow!
The Letter S: Paper Plate Skeleton
Supplies:
- Hole punch
- Sting
- Scissors
- Pencil
- Back Marker
- 15 white paper plates
Make a paper plate skeleton together following this video. How does it compare to the shape of your own body? Depending on the level your child is at, you could talk about the different bones and their names.
The Letter T: Television
Supplies:
- Box
- Crayons markers, colored paper, Buttons, anything to decorate.
Tired of your kids watching TV all day? Have them make one of their own out of a big cardboard box! Don’t forget to decorate with the buttons and dials, or even a remote. After that, take turns standing inside the screen to be on TV. Have a talk show where you talk about other things that start with the letter T.
The Letter U: Rubber Glove Udder
Supplies:
- Rubber Glove
- Pin
- Water
Make an udder out of a rubber glove by poking holes in the fingers and filling it with water. Finally, (over the sink or a bowl and some towels) practice “milking” a cow.
The Letter V: Play Dough Vase
Supplies:
- Play dough (or clay)
- Paper (for flowers)
Make a vase out of play dough (or clay if you’ve got it) and let it dry out over night. Finish off by making a bouquet of paper flowers to put in your vase, or pick some of the flowers from your yard to display.
The Letter W: Wands
Supplies:
- Pencils, sticks, or tinfoil
- Colored paper
Make magic wands out of pencils, tinfoil, or sticks from your yard. You can decorate them any way you like with paper, ribbons, beads, and anything else you find. If you’d like, top your wands with a paper star. To finish, say the magic words and turn each other into different objects!
The Letter X: Xylophones
Supplies:
- Glass bottles or
- Popsicle sticks
Yeah, you saw xylophone coming from a mile away. What can I say? When it comes to X, you gotta do what you gotta do! Make your own xylophones out of glass bottles or jars filled with water. Or use colored popsicle sticks glued over the hole of a tissue box. Don’t forget your mallots! (Wooden spoons, chopsticks, or more popsicle sticks work just fine.)

The Letter Y: Yarn Doll
Supplies:
- 2 balls of yarn
- 2 beads
- Piece of cardboard
- Scissors
Make a yarn doll following this great video tutorial. Yes, the dolls may look a little raggedy, but because they’re so fun to make, they’ll beat an expensive Frozen doll any day!
The Letter Z: Zoo Animal Masks
Supplies:
- Paper plates
- String
- Crayons
Color and decorate paper plates to look like all different types of animal faces. Punch holes in the sides and tie them with string to use as masks for your at-home zoo!
Letter Crafts For Kids
And there you have it! Letter crafts for every letter of the alphabet. My favorite thing about doing letter crafts with kids is watching what they come up with in the end, and really letting their creativity soar. For more information on how to encourage your kids in arts and crafts (as well as all the other subjects) check out this post! Otherwise, get crafting!
Want to keep these crafts in mind for later? Save THIS PIN to your Preschool Crafts or Alphabet Activities board!

Looking for more activity ideas?
We’ve got something for every letter of the alphabet! Over 800 activity ideas, all organized by letter for easy preschool lesson planning. That includes ideas for snacks, books, music, field trips, crafts, and so much more!


